RAM Capacitor Rework Repair: The Complete Process
2026-04-01 · ResolderWorks
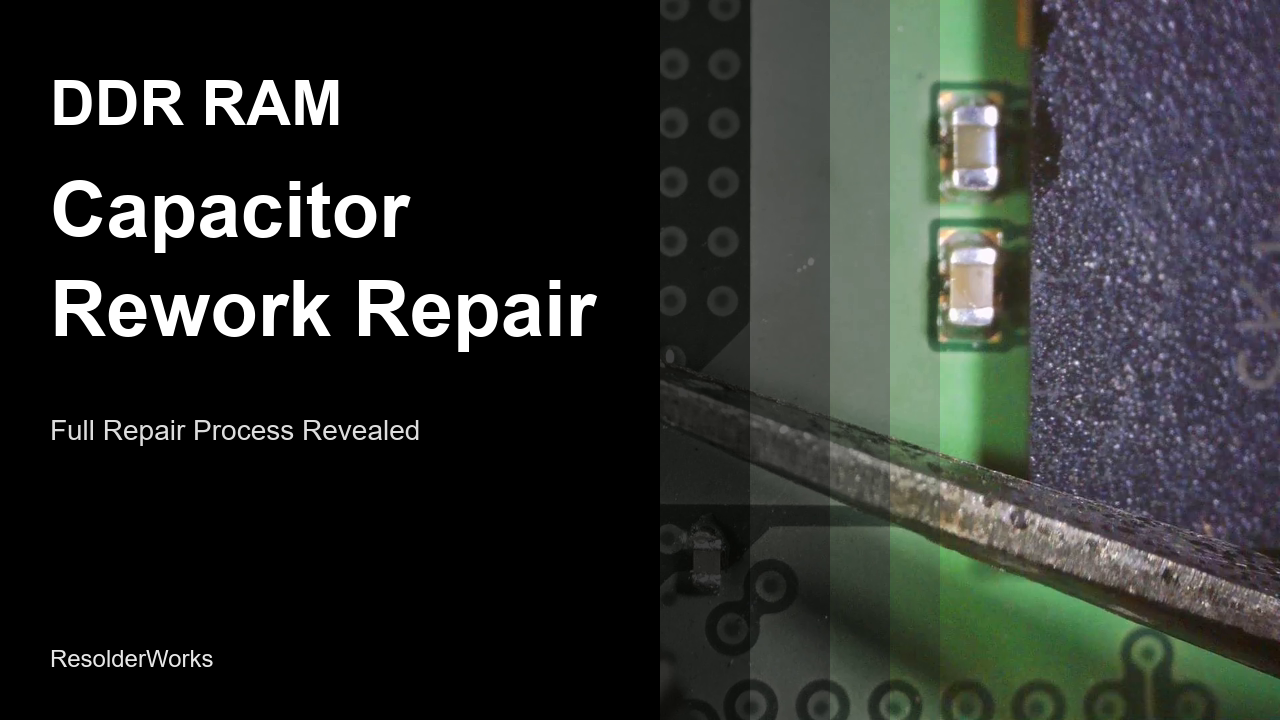
When a capacitor (MLCC) on a server memory (DDR RAM) module is damaged or missing, it can cause memory errors, system instability, or even complete server failure. Replacing the entire module is the easy fix — but server-grade DDR RAM doesn't come cheap.
ResolderWorks is a micro-soldering specialist that repairs server memory at the component level. Today, we're sharing the complete process of our DDR RAM capacitor rework repair, step by step.
What is Rework? Rework refers to the precision repair process of removing a soldered SMD (Surface Mount Device) component and re-attaching a new or functional replacement. The smaller the component — like a capacitor — the more specialized equipment and skilled technique it demands.
The Full Repair Process — 5 Detailed Steps
Our capacitor rework repair follows five key stages. Every step is performed under a microscope with meticulous precision — even moving a single component requires extreme care.
Step 1. Applying Flux to the Donor RAM
First, we prepare a donor RAM module — the source from which we'll harvest the replacement capacitor. The process begins by applying flux around the target capacitor.
Flux prevents oxidation during soldering and helps solder flow smoothly. Applying the right amount in the right spot is critical, and we use cotton swabs for clean, precise application.
[Applying flux around the capacitor on the donor RAM]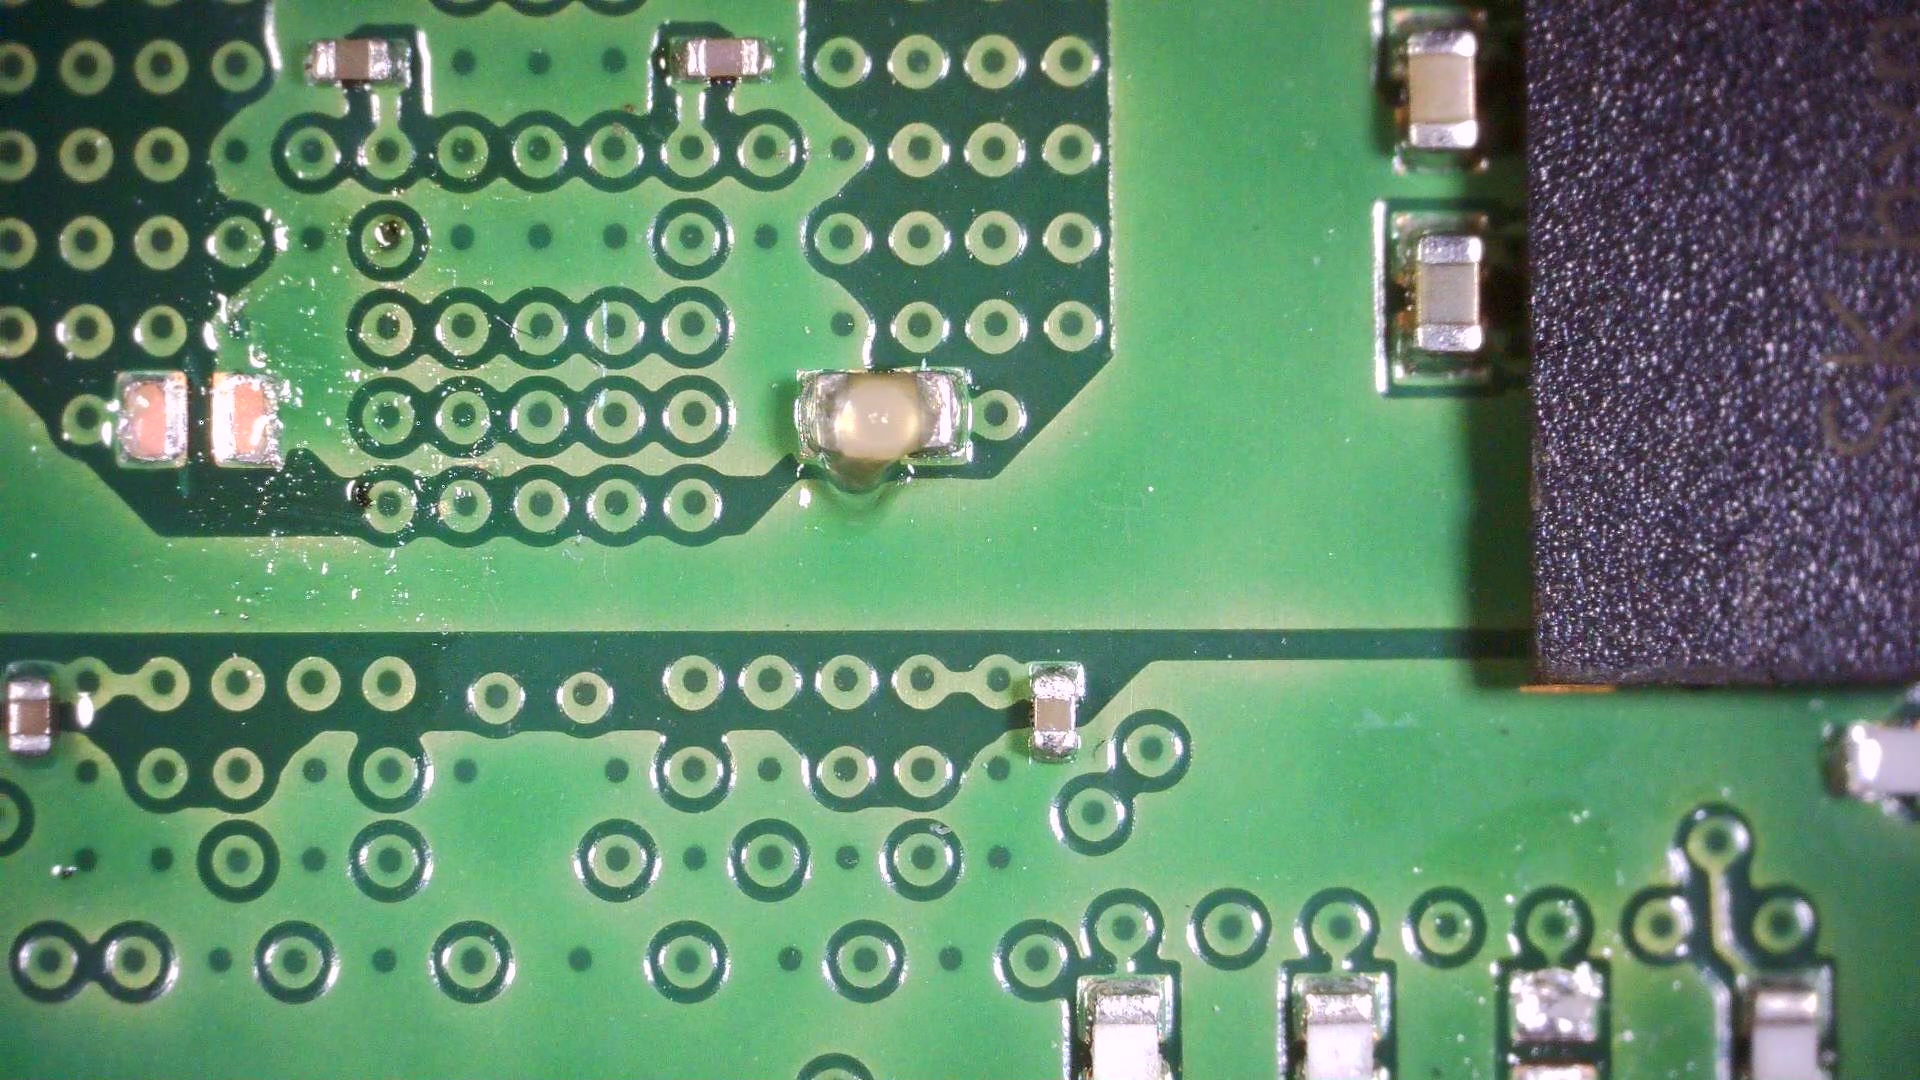 Applying flux around the capacitor on the donor RAM
Step 2. Removing the Capacitor from the Donor RAM
Once flux is applied, we use a soldering iron to detach the capacitor from the donor RAM. Speed and precision are essential here to avoid applying excessive heat to the component.
Capacitors come in extremely small form factors like 0402 and 0603, so we carefully lift them with tweezers under the microscope. After removal, each capacitor is inspected for damage before proceeding.
[Applying heat to the donor RAM capacitor]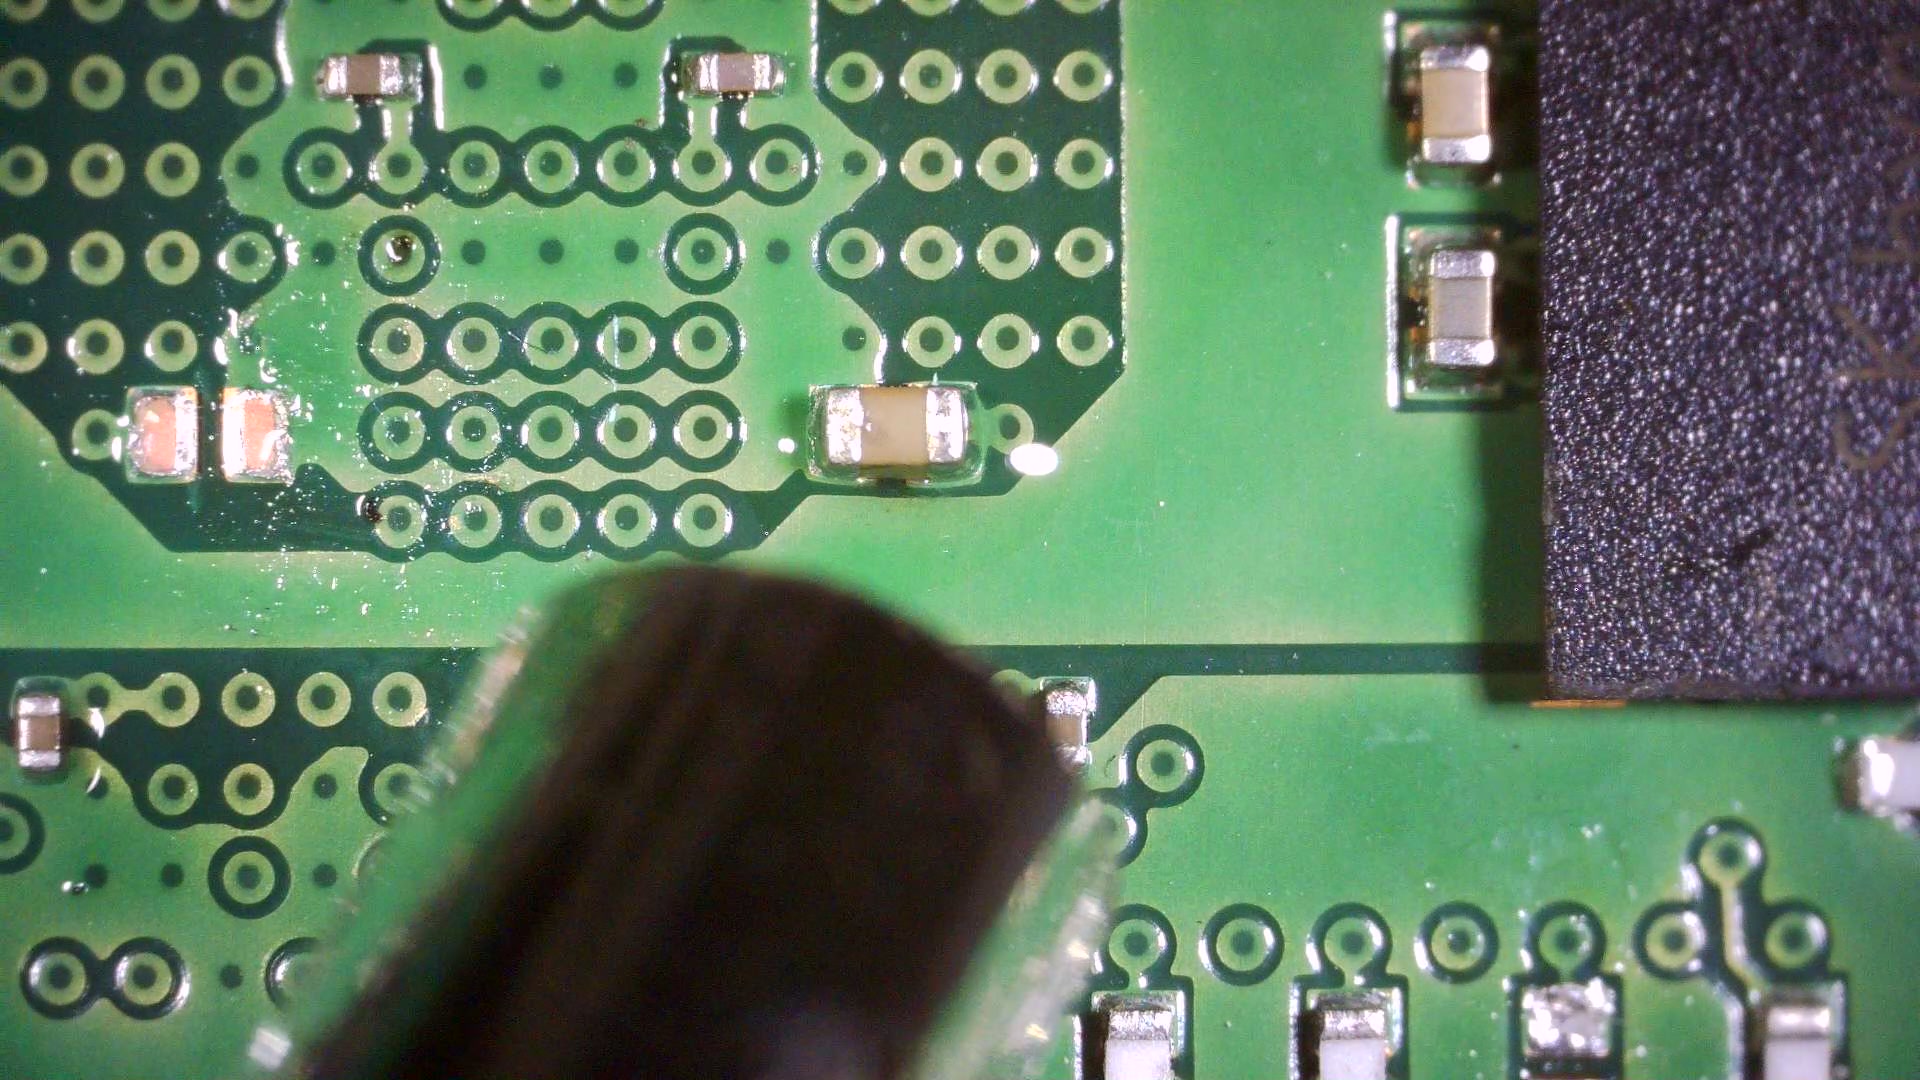 Applying heat to the donor RAM capacitor
[Capacitor successfully removed from the donor RAM]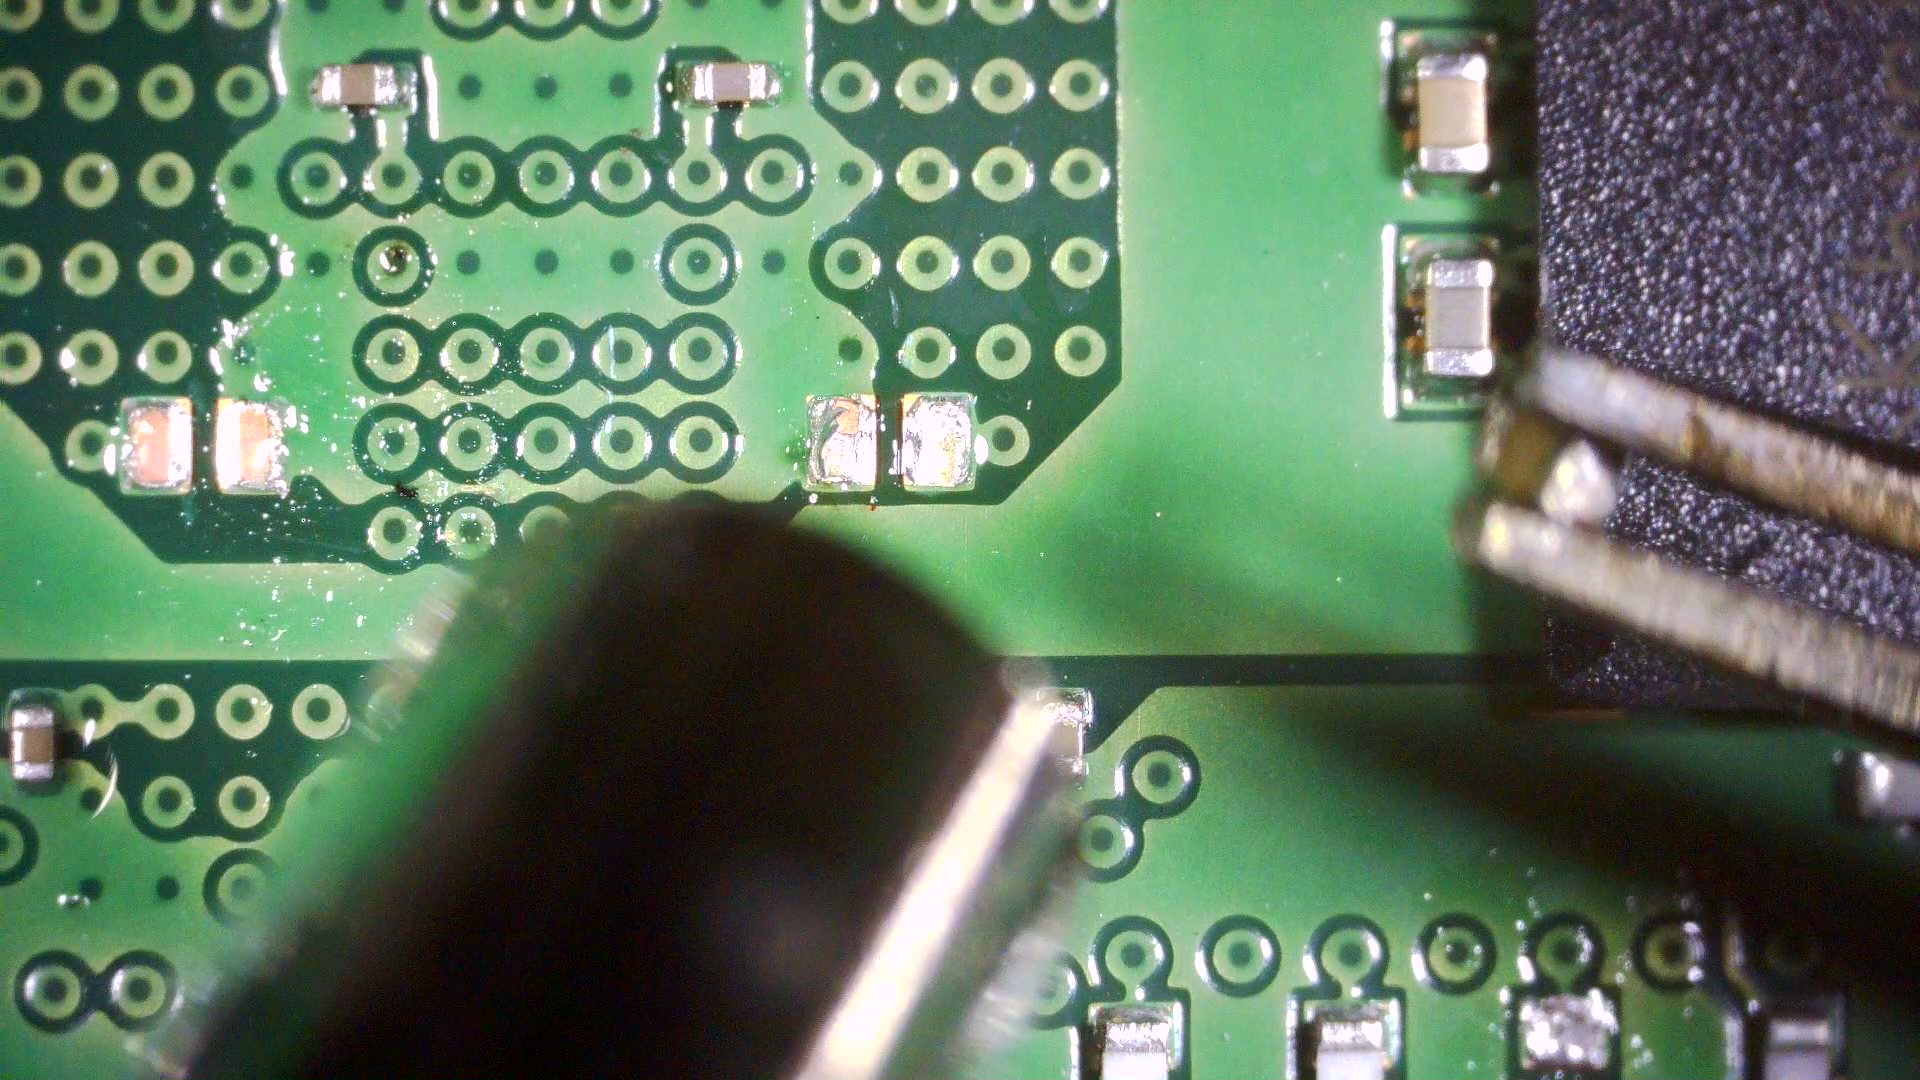 Capacitor successfully removed from the donor RAM
Step 3. Cleaning & Preparing Pads on the Target RAM
Now we move to the actual target RAM — the module being repaired. The solder pads where the damaged capacitor was located need to be thoroughly cleaned.
We remove residual solder and clean the pad surface so the new component can seat properly. Careful handling is key — the pads must remain undamaged, as clean pads are essential for reliable solder joints.
[Cleaning the solder pads on the target RAM — step 1]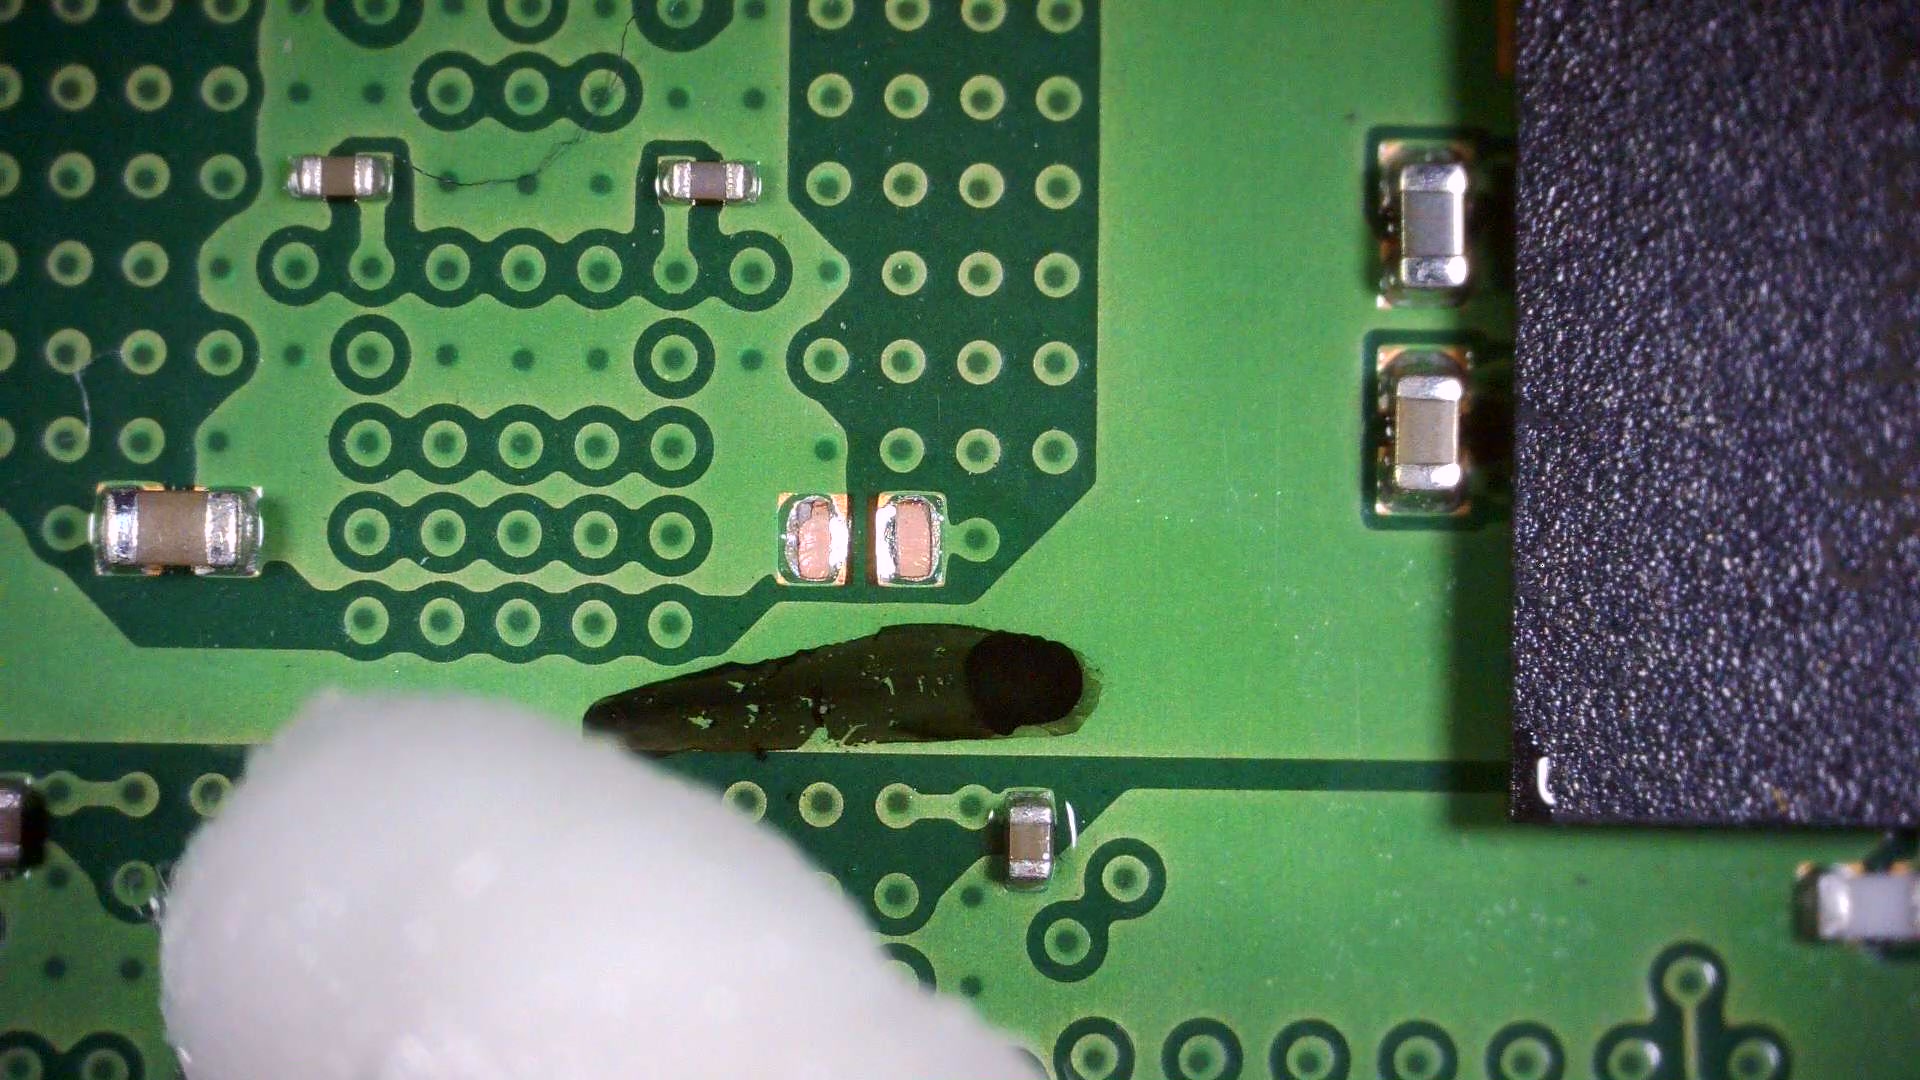 Beginning the pad cleaning process
[Cleaning the solder pads on the target RAM — step 2]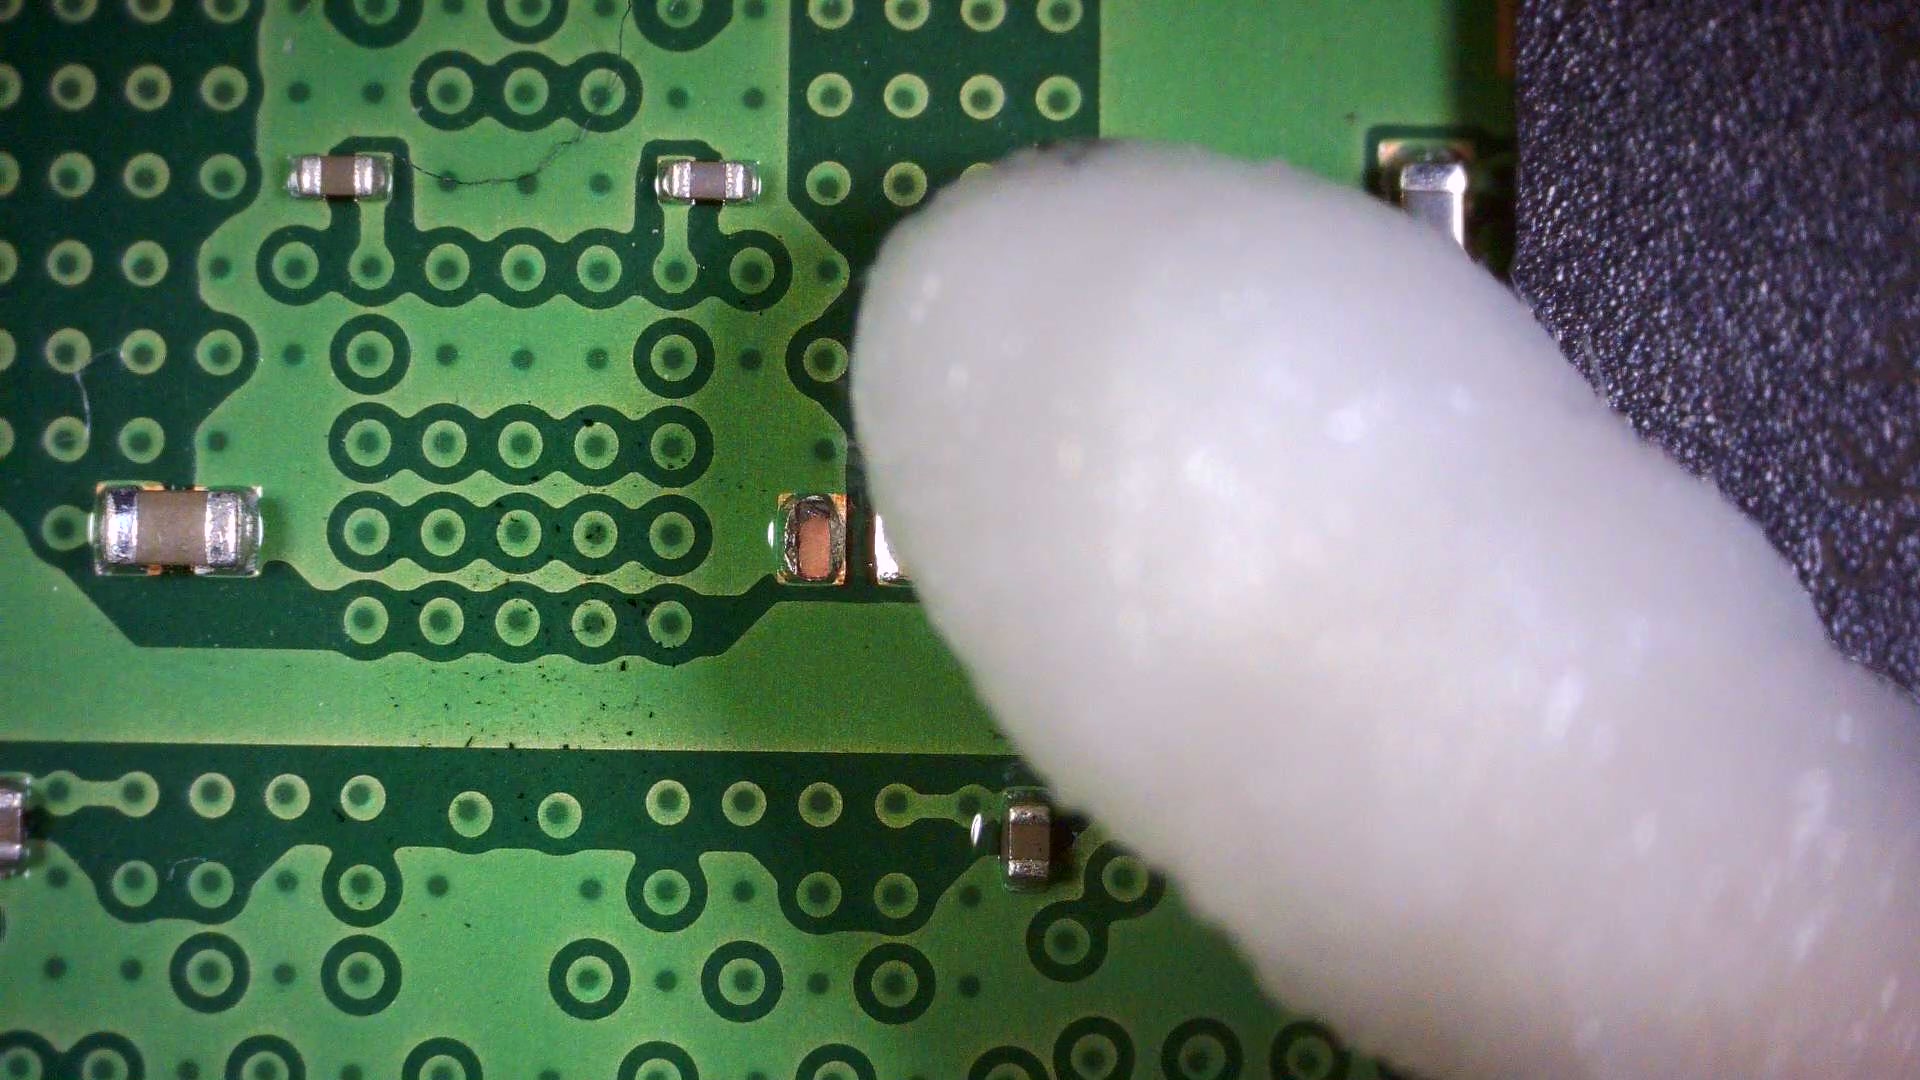 Removing residual solder from the pads
[Pad cleaning complete on the target RAM]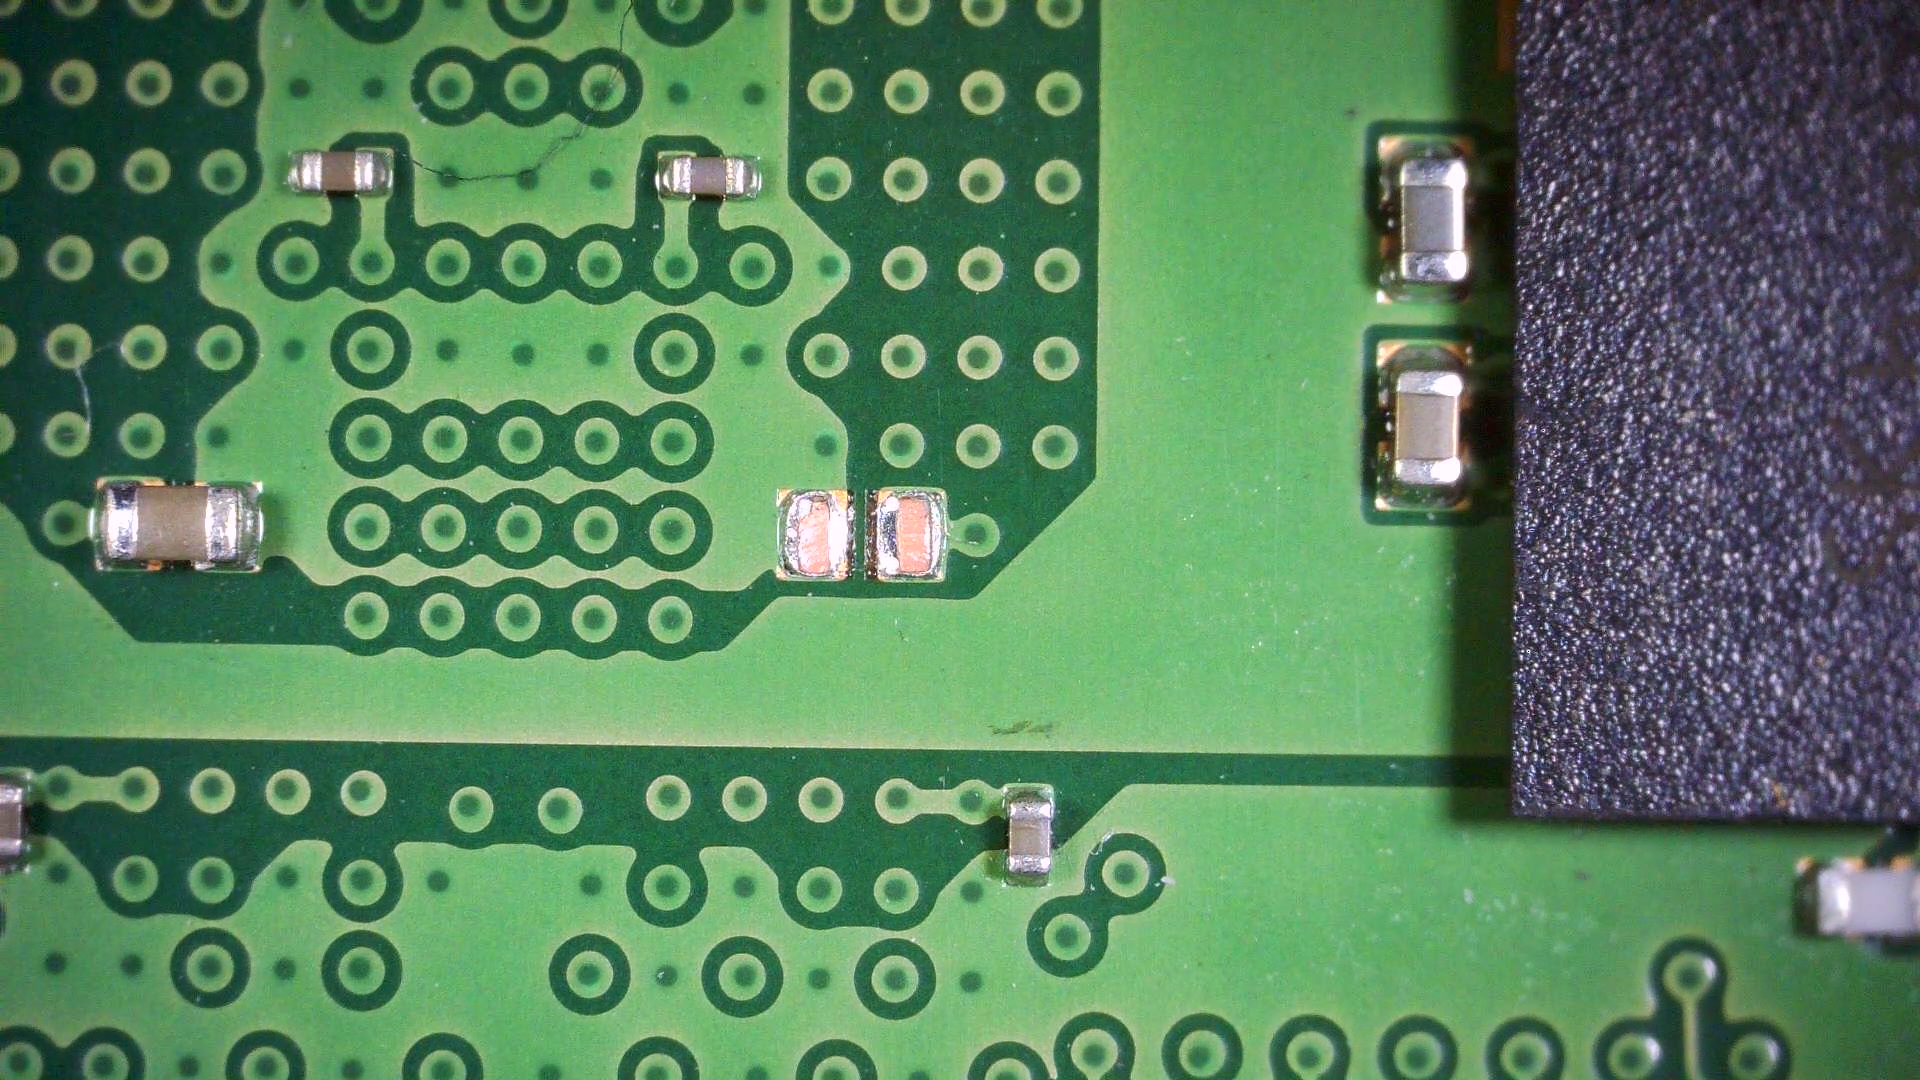 Pad cleaning complete — ready for the new component
Step 4. Attaching the Capacitor to the Target RAM
With the pads prepared, we attach the harvested capacitor from Steps 1–2 onto the target RAM. This is the most precision-critical step in the entire repair process.
Using tweezers, we position the capacitor on the pads and solder both sides with the iron. If the component is misaligned or only one side bonds properly, the electrical connection will be compromised — so accurate placement and even heat distribution are absolutely crucial.
[Placing the harvested capacitor onto the target RAM]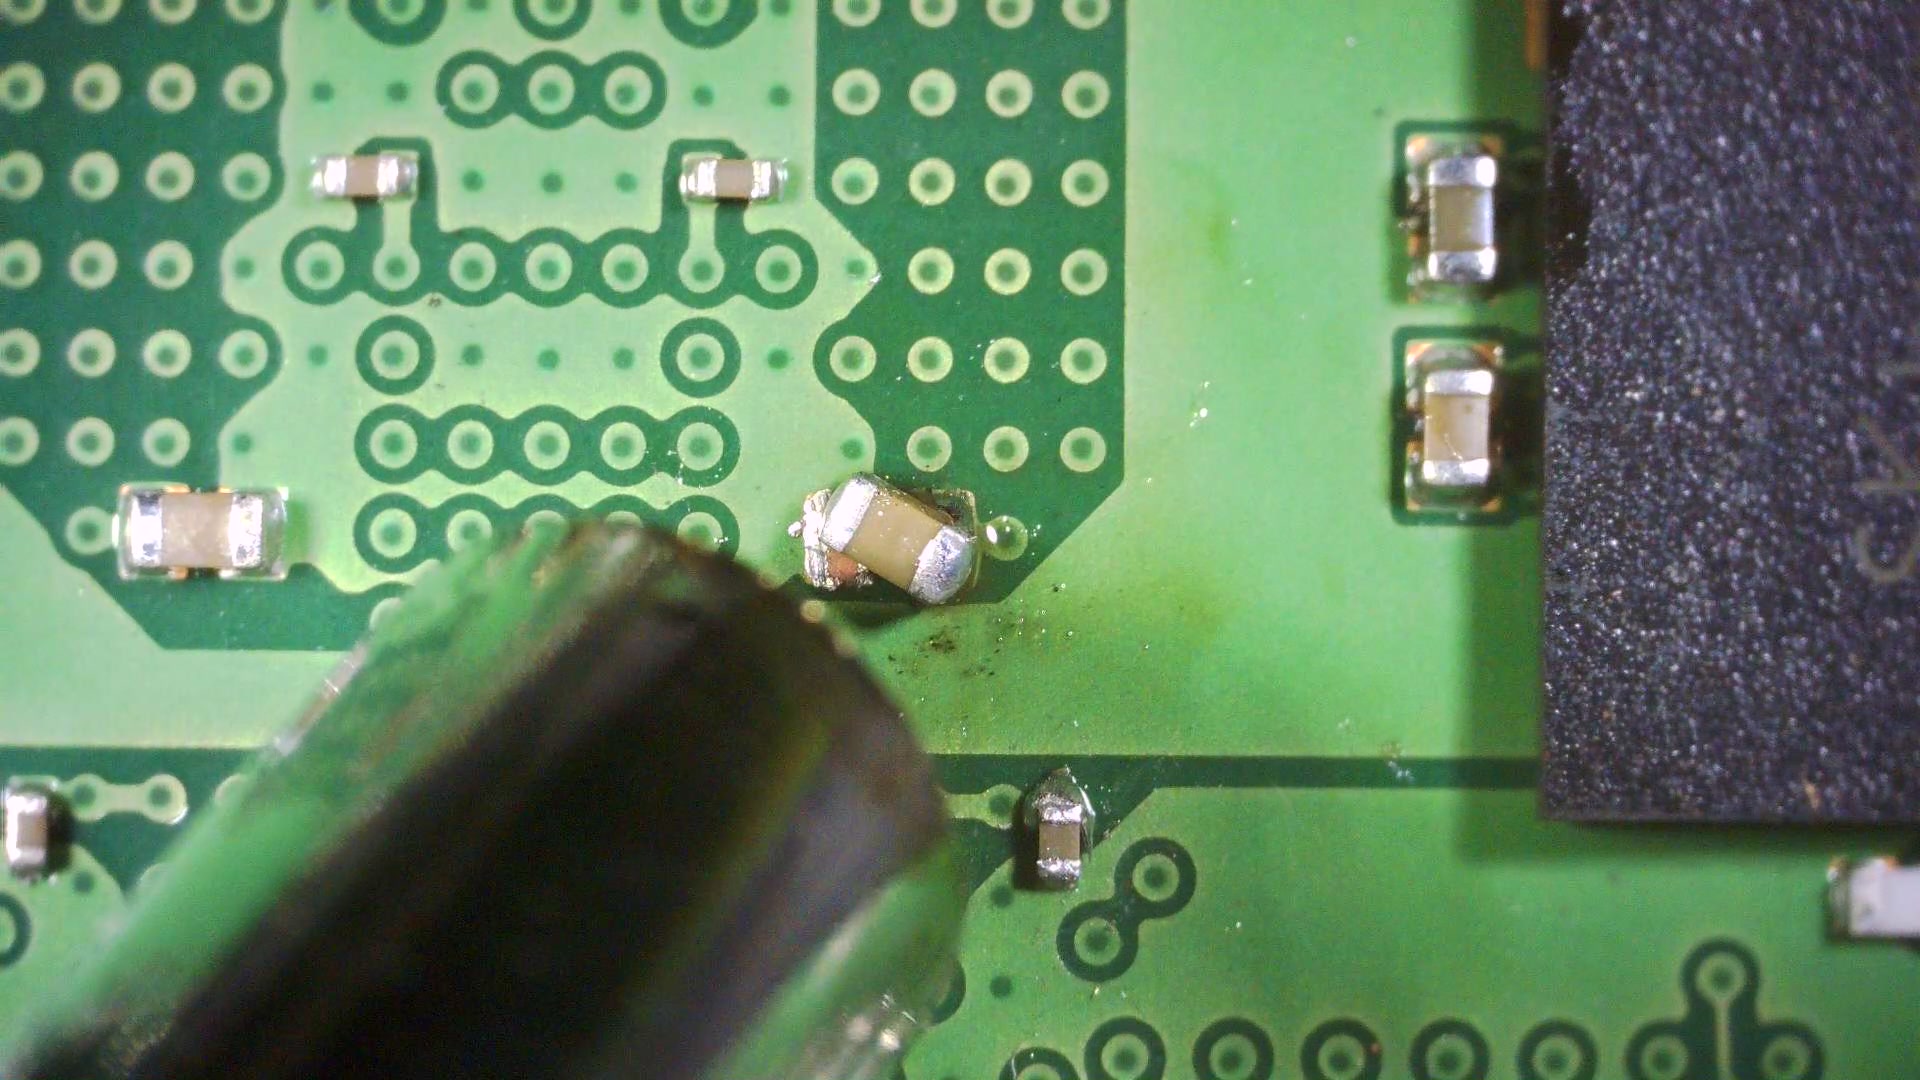 Placing the harvested capacitor onto the target RAM
[Fine-tuning capacitor position with tweezers]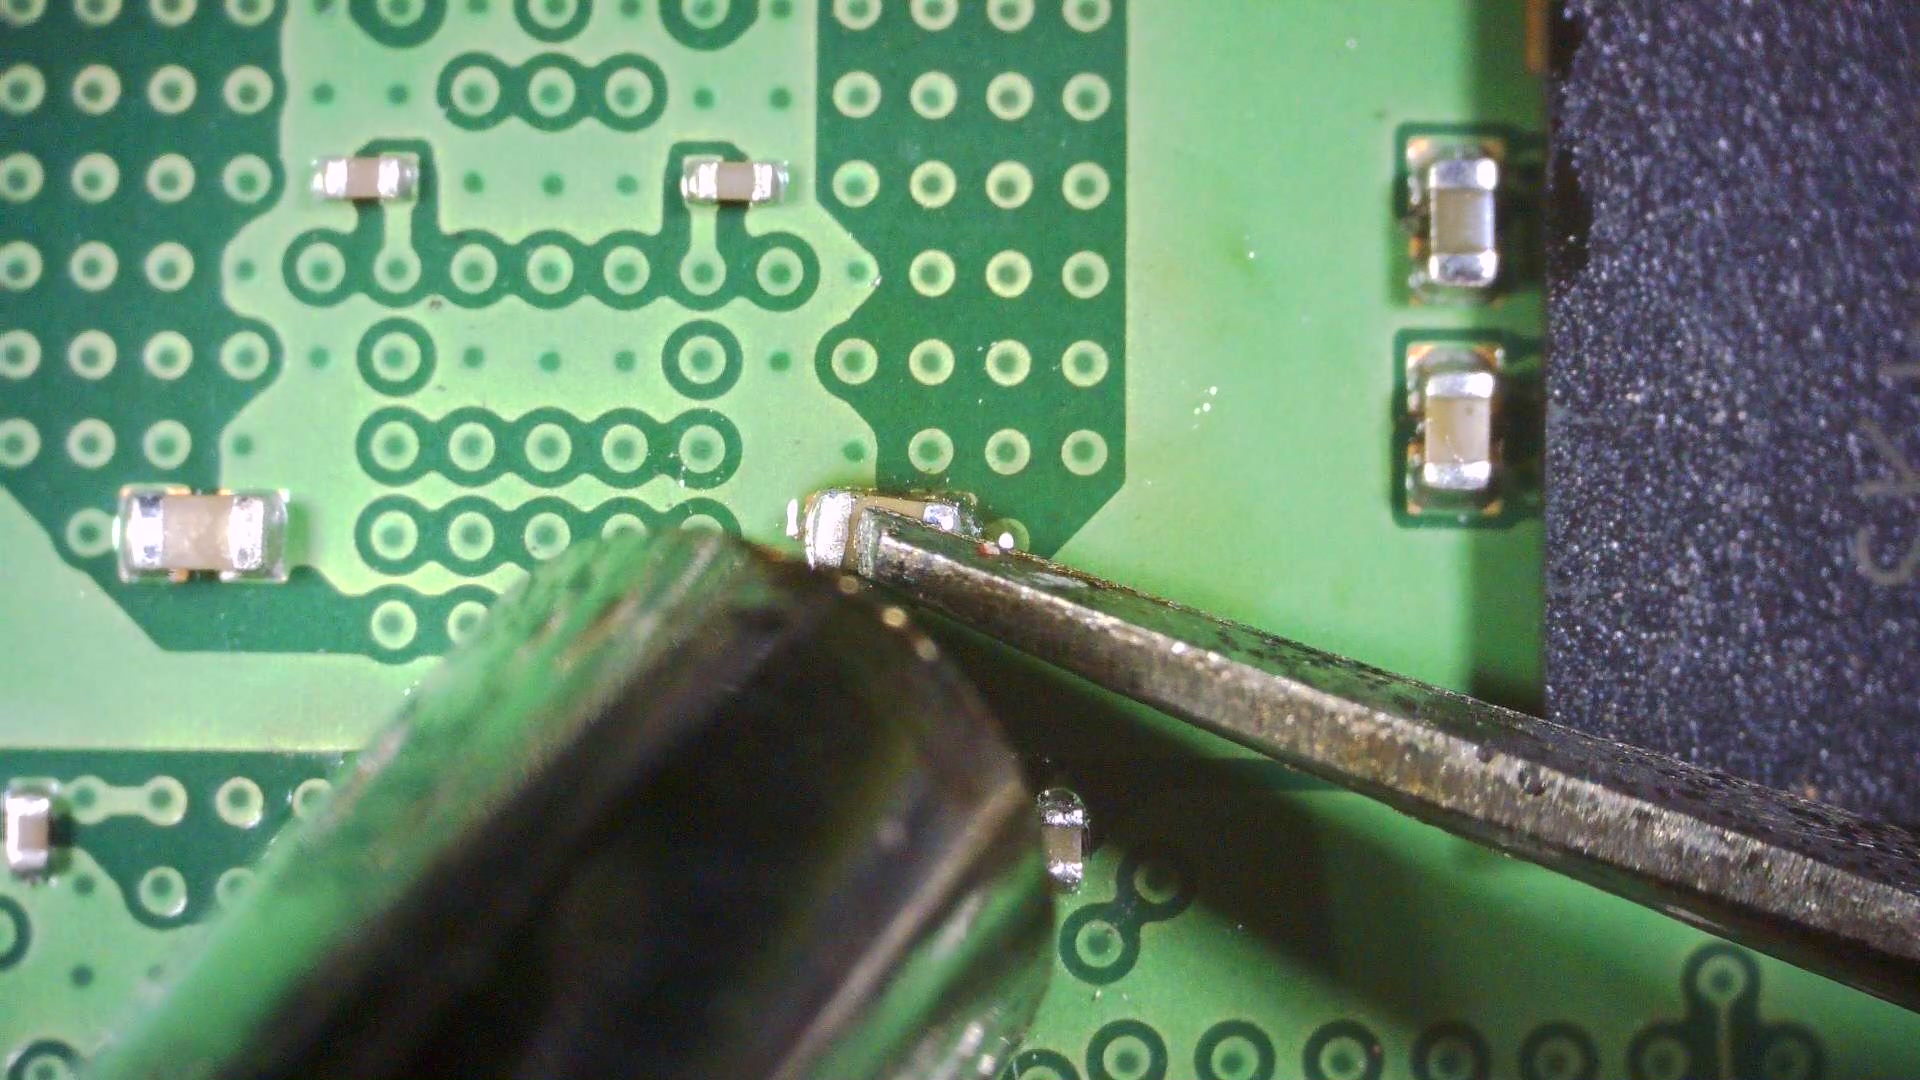 Fine-tuning capacitor position with tweezers
Step 5. Final Cleaning & Inspection
After the capacitor is attached, we clean all residual flux from the work area. Leftover flux can cause board corrosion over time, so we use specialized cleaning solution and cotton swabs to thoroughly remove it.
Finally, we perform a full visual inspection under the microscope — checking for solder bridges (shorts), cold solder joints, and any other defects to ensure a reliable repair.
[Capacitor attachment complete on the target RAM]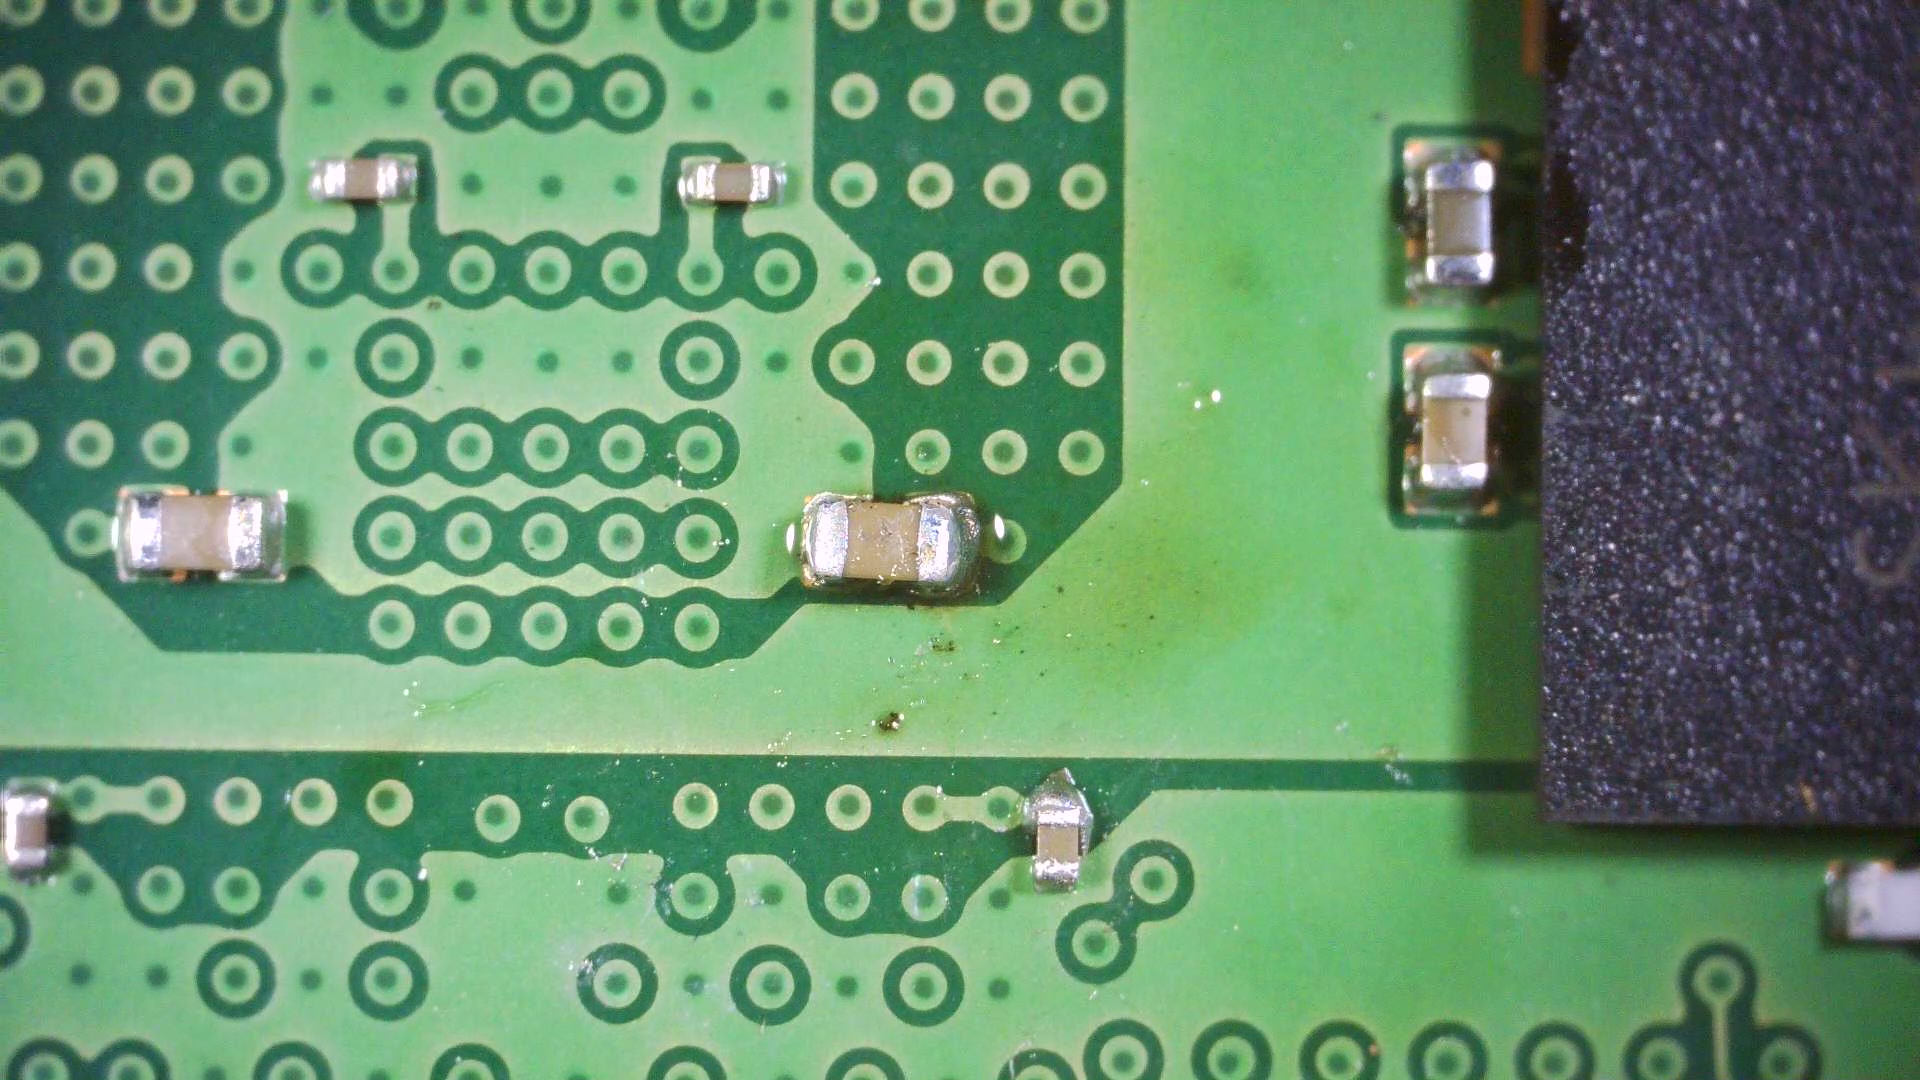 Capacitor attachment complete
[Final cleaning complete on the repaired RAM]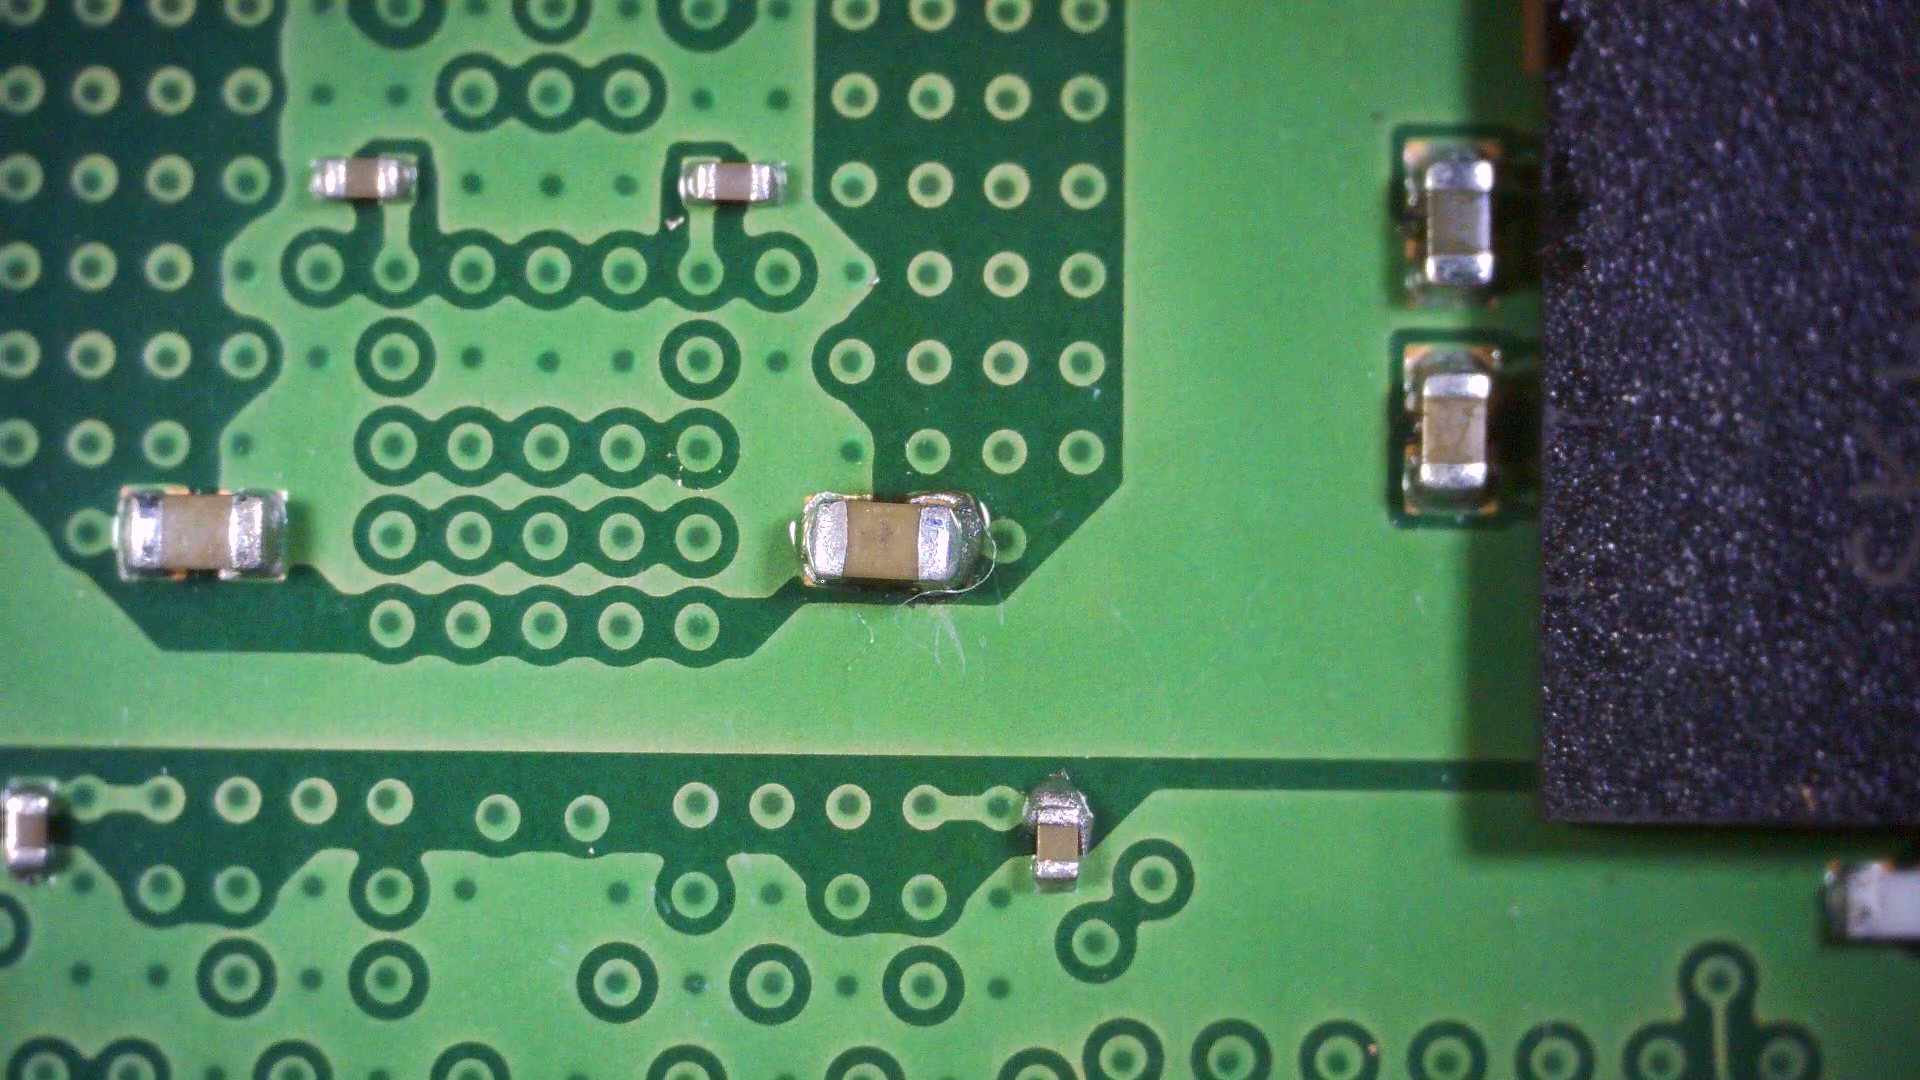 Final cleaning complete — repair finished
Why Professional Rework Repair Matters
You might think, "How hard can it be to replace one tiny capacitor?" But the capacitors used on server-grade DDR RAM are ultra-small SMD components — often less than 1mm in size. Standard soldering tools simply can't handle these. High-magnification microscopes, precision soldering irons, and specialized tweezers are essential.
On top of that, damaging surrounding components or pads during the repair can make things worse. That's why this work requires experienced professionals with proven micro-soldering skills.
ResolderWorks Repair Services
- Server memory repair (DDR3 / DDR4 / DDR5)
- Capacitor, resistor, and other SMD component rework
- Bulk repair available for enterprises and data centers
- Full in-house process — from component sourcing to final inspection
ResolderWorks doesn't just swap parts — we handle the entire process in-house: sourcing components, removing damaged parts, preparing pads, re-attaching, cleaning, and final inspection. If you need server memory repair, reach out below.
Need Server Memory Repair?
We specialize in capacitor, resistor, and SMD component rework repair for DDR3 / DDR4 / DDR5 server memory modules. Bulk repair for enterprises and data centers is also available.